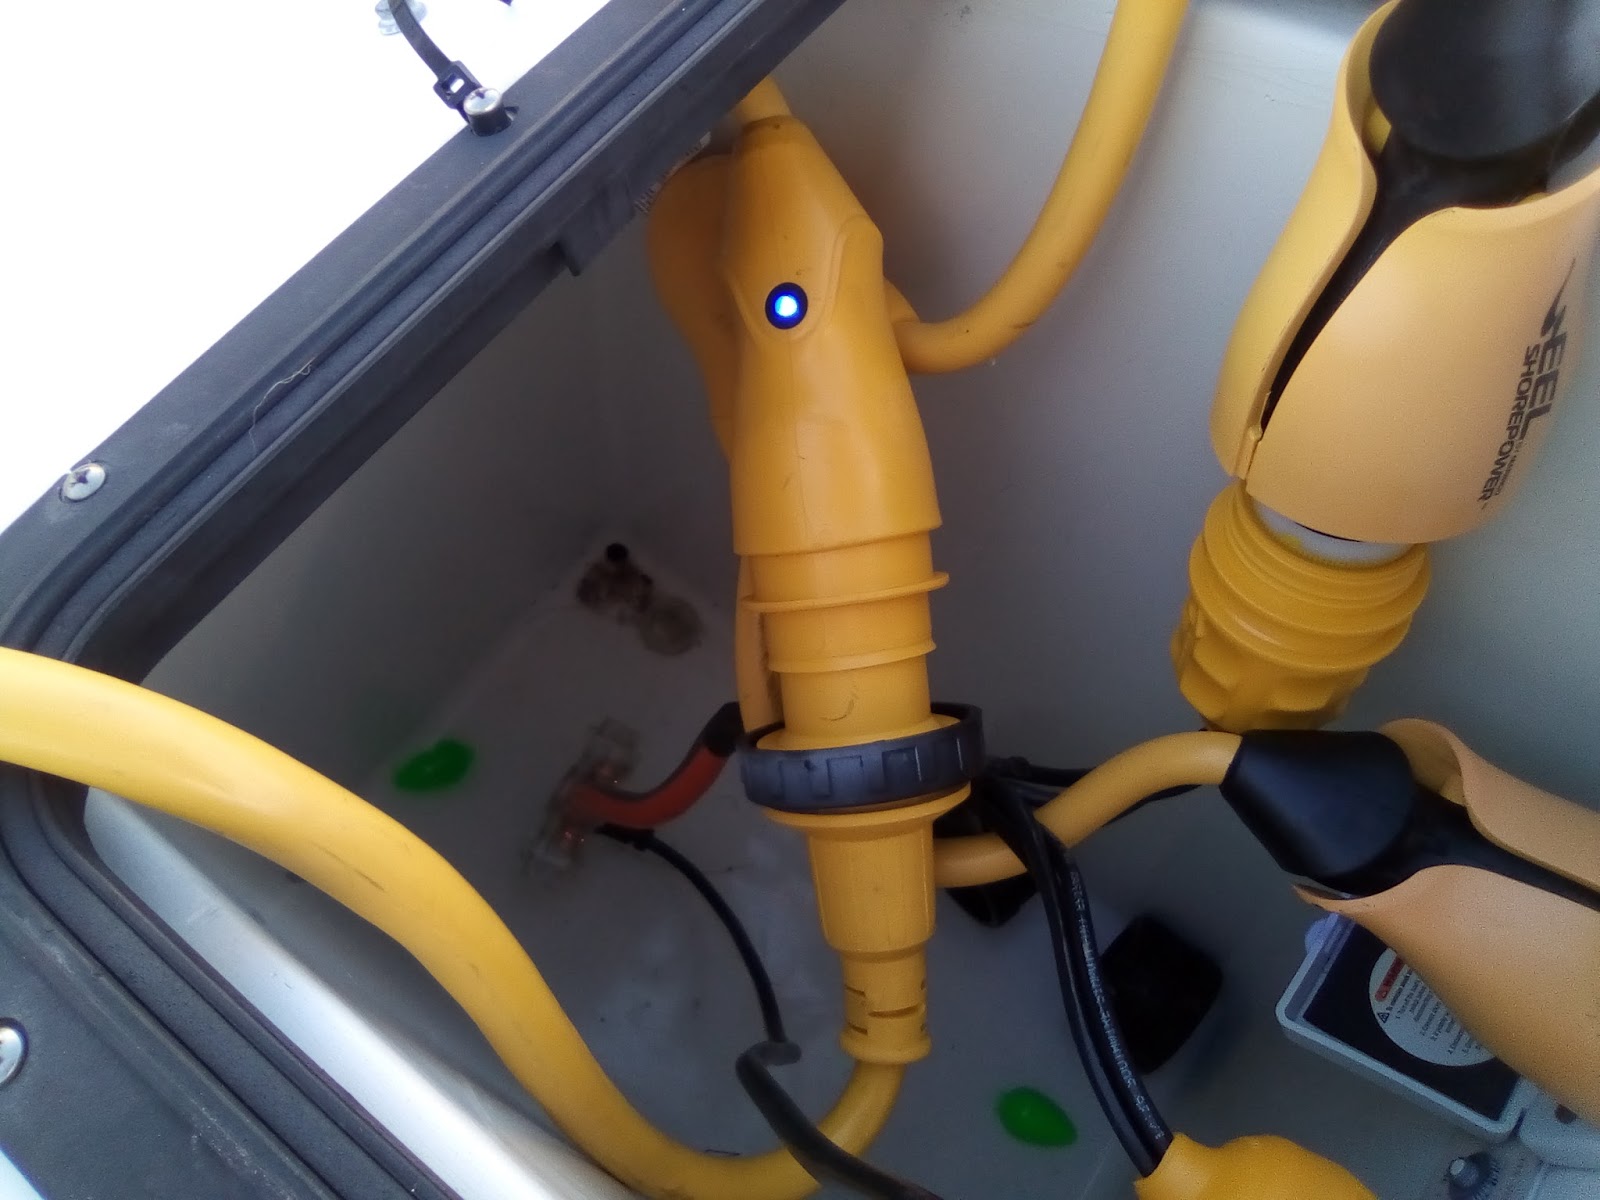
Here are the panels on my 30 Amp boat. Winter is difficult when attempting to run heaters, microwave, fridge and freezer all at the same time.
Can you see what I did to solve the problem?


Here are the basics:

Can you see what I did to solve the problem?


Here are the basics:
How To Wire (or re-wire) a boat

I know what you’re thinking. “How does this lunatic think he’s going to cover such a complex topic as – how to wire a boat – in one post?”
Well – you’re right – I won’t be able to cover every situation, or every possible setup on every boat. And if all this info is new to you, you’re probably best hiring a professional marine electrician to do it for you (local install support directory). But, I’ll try anyway to explain some of the general theory and best practices in hopes it will help.
In this guide I’m going to stick with the 12Vdc power distributions systems. I’m not going to muddy the waters with engine or gauge wiring here.
A few notes before we start:
- Positive wires are red
- Negative wires are black (or yellow in some cases)
- Current is measured in Amps (A)
- Potential difference is measured in Volts (V)
- Current flows through the wires (like water through a pipe). Too much current can heat up the wiring to the point of starting a fire
- Voltage does not “flow” it is a measurement of potential to do work. Like water pressure in a pipe
1. The Electrical Source: a Battery
In a boat electricity is stored in one or more batteries. The batteries are charged by your engine’s alternator, or auxiliary battery charger. They can hold an enormous amount of energy, capable of pushing hundreds – or even a thousand – amps… so care must be taken, and proper circuit protection should not be ignored.
Greatly generalizing the topic here, but you usually run into two types of batteries in the size of boat we deal with:
- Starting Battery – Has high current rush capacity
- Deep Cycle Battery – Capable of deep discharge without harm
The two setups we most often run into is:
- Single Engine – 1 starting, and 1 house battery
- Twin Engine – 2 starting, and 1 house battery
Batteries have a positive and negative. For current to flow (which does the work) a complete circuit must be made from positive back to the negative. Any break in the circuit, anywhere will stop the load from operating (which you probably already know or you wouldn’t be reading this to try and fix your marine wiring issue).
2. Main Battery Switch
In nearly all cases your boat wiring system should have a marine grade main battery disconnect switch. This allows you to open the switch turning everything off at once. In this case, We’ve shown an 1-2-BOTH type battery switch.
Both battery positives are ran through this switch, and you can use it to select which battery you want to output, similar to an A-B switch. But a 1-2-BOTH marine battery switch also allows you to parallel both batteries. The both setting might be used when you are running your engine and want to charge both batteries from the alternator, or if you need to parallel the batteries in an emergency to help start your engine if your start battery becomes too depleted.
Remember to turn your battery switch to the “house circuit” when your engine is not running, so you are only drawing down your deep cycle house battery meant for that purpose.
Complete article @ https://newwiremarine.com/how-to/wiring-a-boat/